Lowercase Letter Tracing a-z | Free Printable
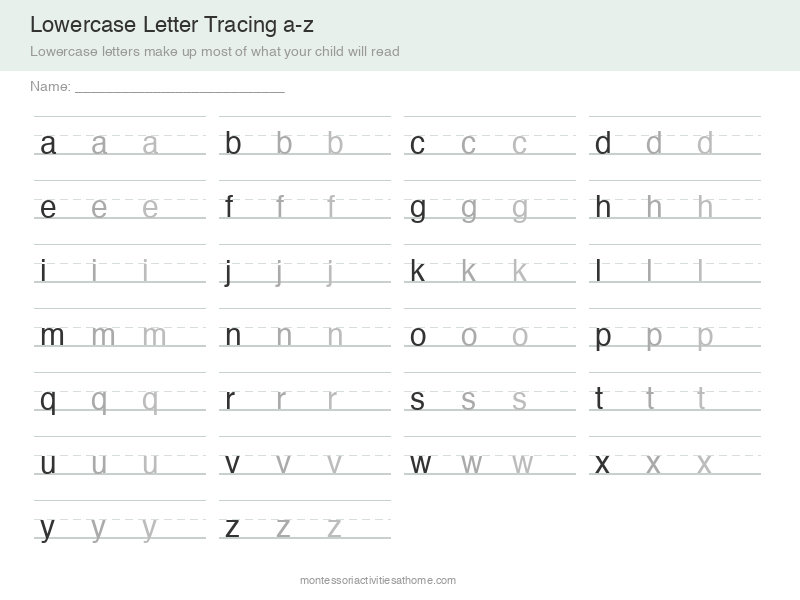
About This Worksheet
Lowercase letters make up the overwhelming majority of what your child will read and write, and they are the letters most worth getting right. They are also harder than capitals: more curves, more letters that hang below the baseline, and the b/d and p/q pairs that reliably cause confusion.
The guidelines matter more here than anywhere else. Lowercase letters live in three zones — letters that sit in the middle (a, c, e), letters that reach up (b, d, h) and letters that drop below (g, p, y). The dashed midline is what teaches that distinction, and a child who ignores it produces writing that stays hard to read long after the shapes are correct.
Use this sheet after the uppercase alphabet is comfortable. If b and d are being confused, practise them in separate sessions rather than side by side — the confusion comes from meeting them together.
Skills Practiced
How to Use This Worksheet
- Point out the three zones. Middle letters, tall letters, letters that hang down. Naming the zones is what makes the dashed midline mean something.
- Keep b and d apart. Practise them in different sessions. Teaching them together is what creates the confusion most parents are trying to fix.
- Trace the tall letters slowly. b, d, f, h, k and l all start from the top line, a longer stroke than your child is used to from middle letters.
- Match it to real reading. After a row, open a book and find that letter on the page. Lowercase practice pays off fastest when it connects straight to reading.