Curved Letter Tracing Worksheet | Free Printable
About This Worksheet
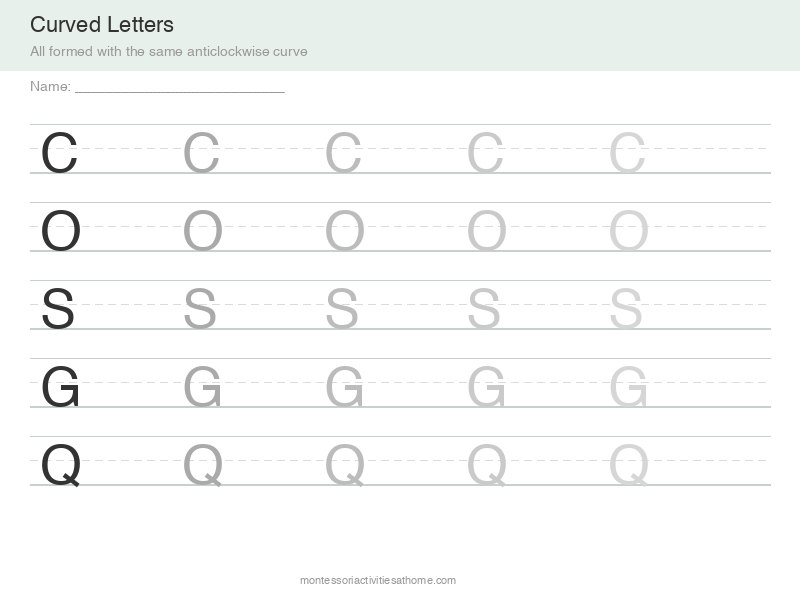
C, O, S, G and Q are grouped together for a reason that is easy to miss: they all start with the same movement. Begin at roughly two o'clock and travel anticlockwise. Teach that one curve properly and five letters come with it, which is why letters are best introduced by shape family rather than in alphabetical order.
The direction genuinely matters. A child who forms O clockwise will produce a perfectly acceptable-looking O today and will struggle with the handwriting speed and letter joins that come later, because the exit point is wrong. This is one of the few places where correcting early is worth a little friction — the habit is very hard to change once it is automatic.
Work this sheet after the straight-line letters. Curves demand more continuous control than straight strokes, and a child who has already succeeded at L and T brings the confidence needed for the harder movement.
Skills Practiced
How to Use This Worksheet
- Show the starting point first. Put your finger where the curve begins before your child picks up the pencil. Most curve errors are starting-point errors, not control errors.
- Teach the movement, not the letters. “Start at the top, go backwards, all the way round.” Once that sentence means something, all five letters use it.
- Do C before O. C is the same movement without having to close the shape, so it is the gentler introduction. O is simply C finished off.
- Watch the direction, not the result. Sit where you can see the pencil travel. A correct-looking letter formed the wrong way round is worth quietly re-teaching now.